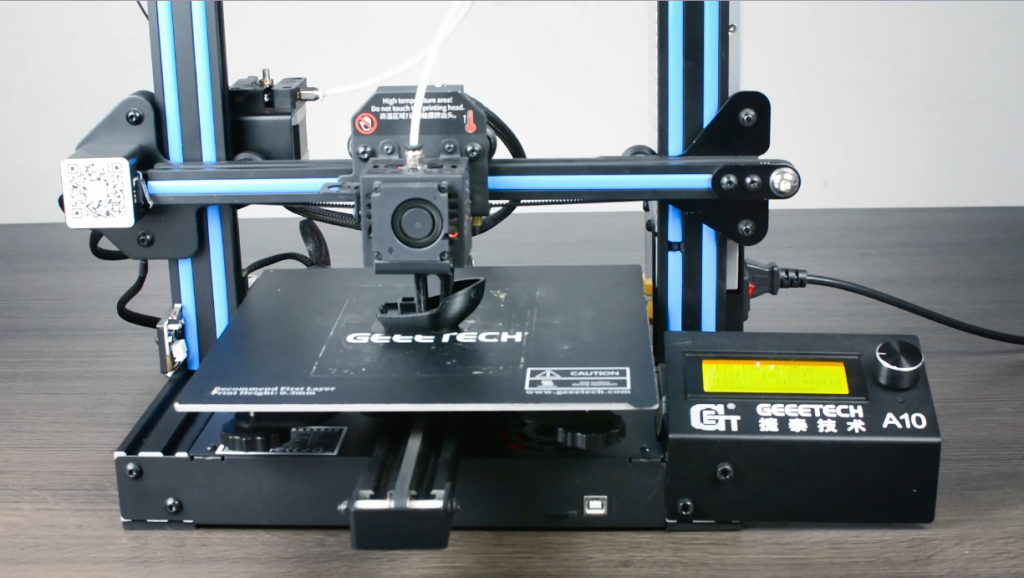
Our team here at Geeetech has recently run a series of tests on our 3D printers-A10 and A10 pro. To challenge their limits and capabilities, we printed the classic 3D Benchy, the 80°Overhang Model and the PolyPearl Tower Torture Test Model.
3D Benchy
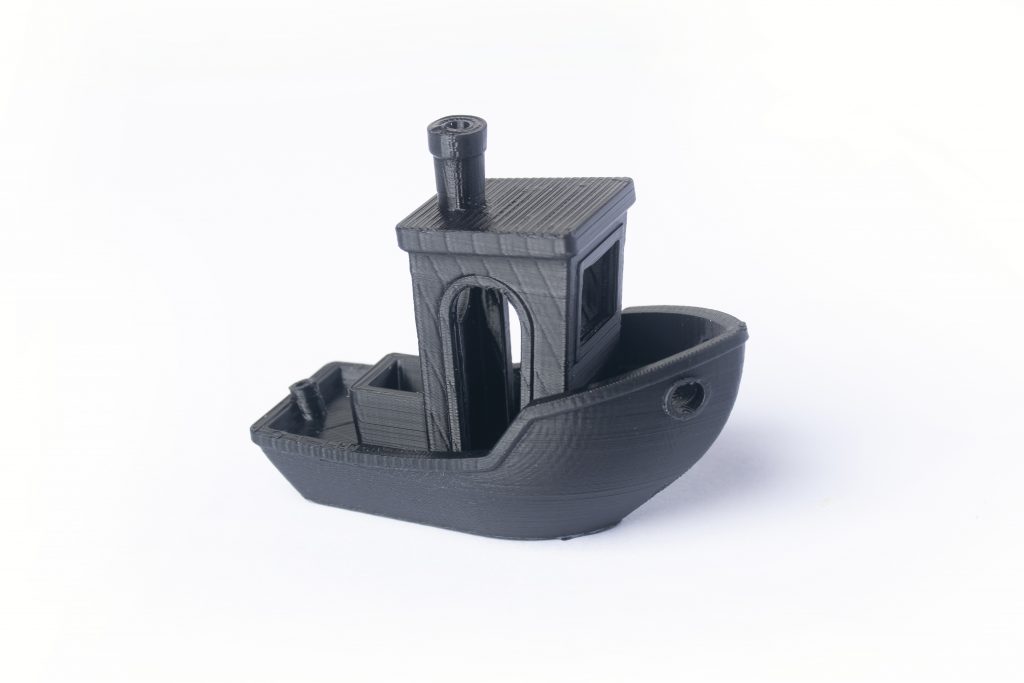
The 3D Benchy model is probably the most popular and recognized print in the 3D printing community to compare and benchmark 3D printers. It is specifically designed to “challenge the capabilities and reveal the limitations of 3D printers”, according to the official site,it has been the most downloaded and printed 3D model. Indeed, its many features, such as the perfect symmetrical design and the large hull, will show any deviations of your machine.
The 3D model is printed at 1:1 scale without any support materials.Now let’s compare it against its benchmark equivalent.
The Hull
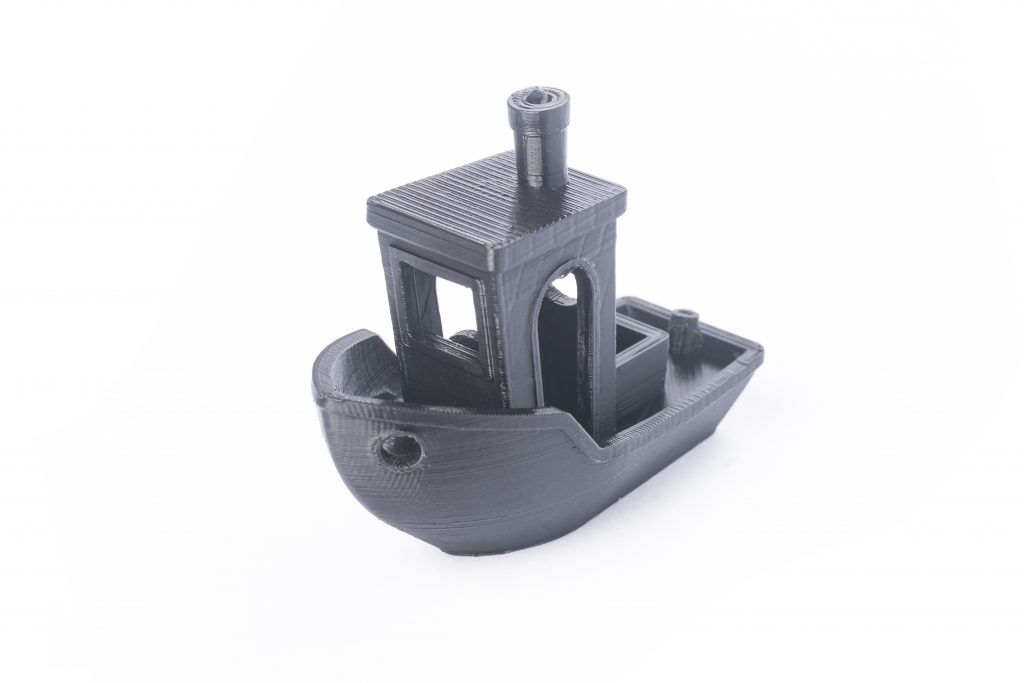
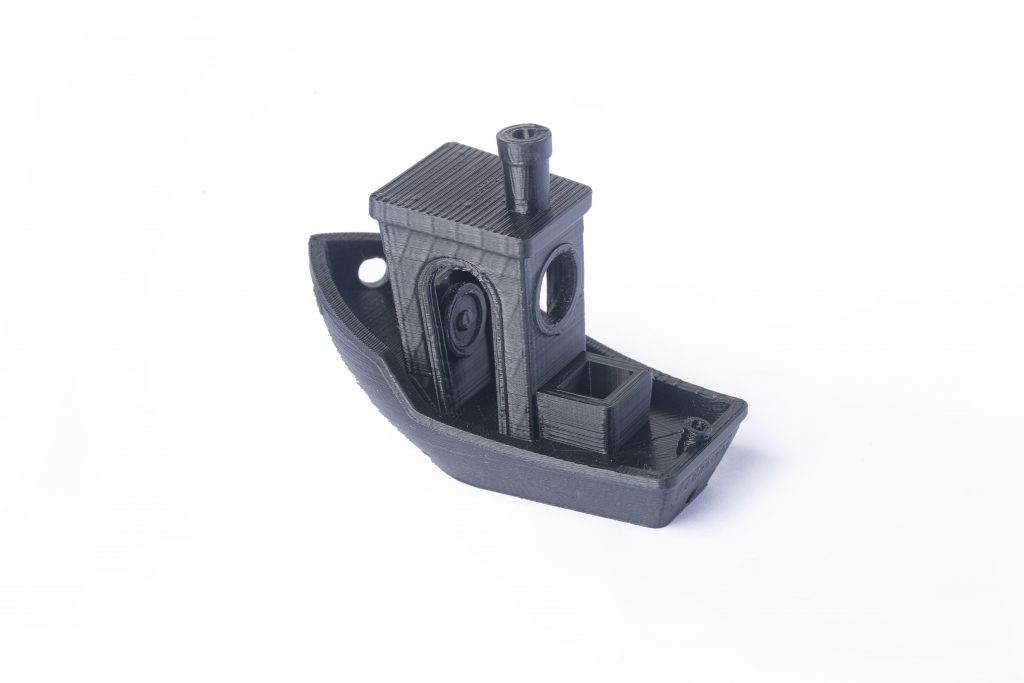
Its hull–a large, smooth overhanging curved surface, shows any deviations. Our make shows no signs of sagging despite its relatively huge angle. Keep in mind this is printed without any supports.
Symmetry
3D Benchy is symmetrical, which makes any skewness and warping easy to find.
Overhang Surfaces
The inner side of the bridge reveals how well the 3D printer deals with overhang issues.
Settings:
Layer height: 0.1mm
Print temperature: 190℃
Print speed: 40%
Retraction distance: 6mm
Retraction speed: 30mm/s

Reference: 3dbenchy.com/
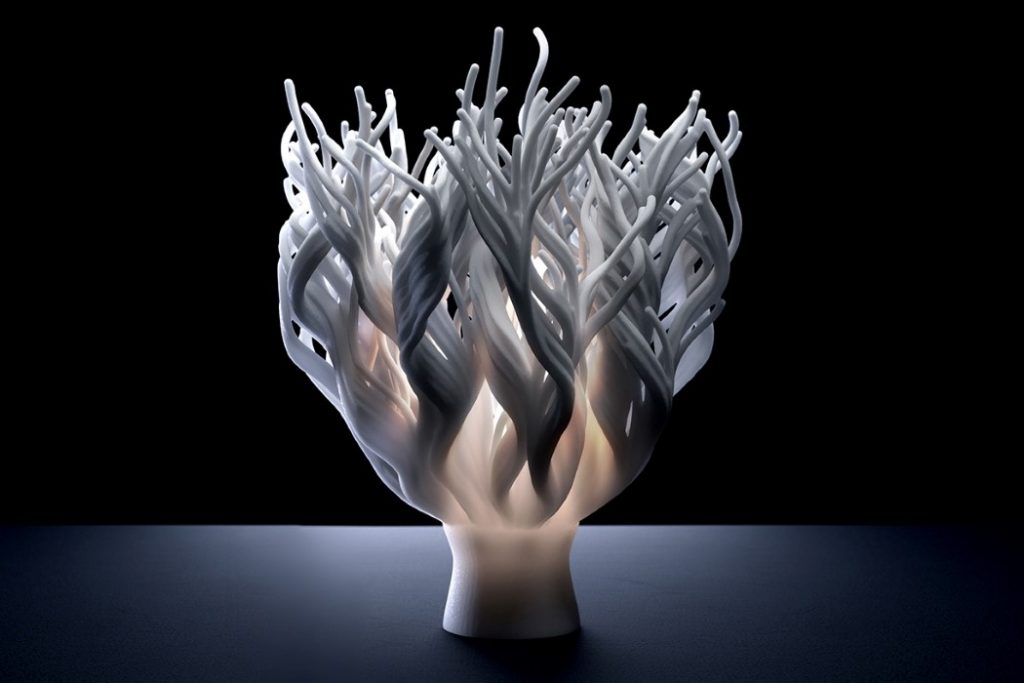
The PolyPearl Tower
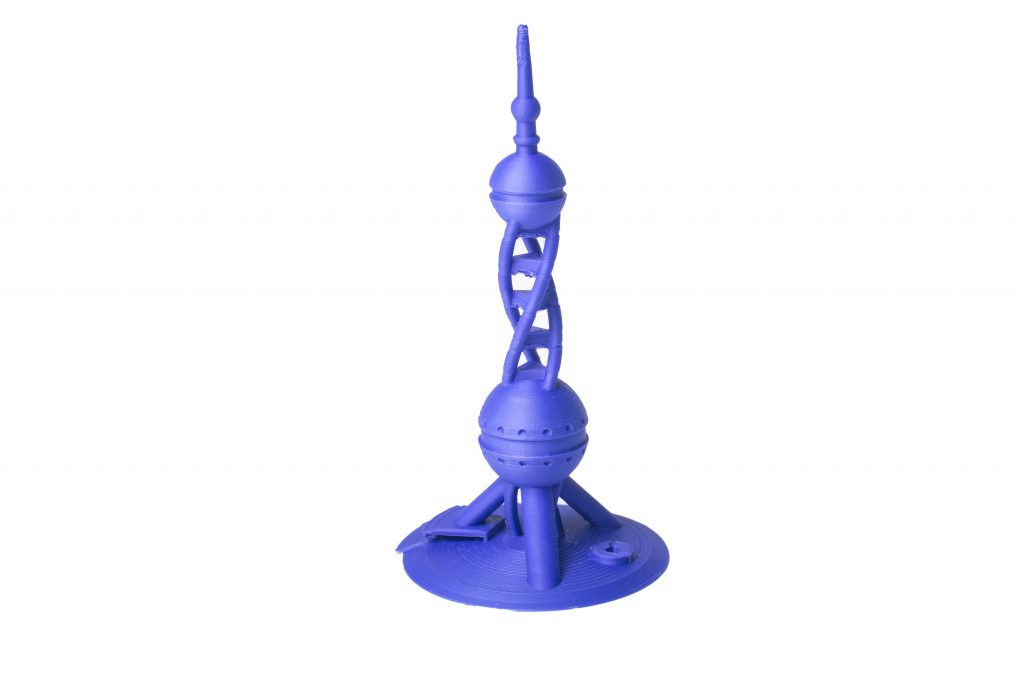
If the 3D Benchy model serves as an entry-level test, the Polypearl Tower Torture Model tests your 3D printer and filaments to its limits.
The main features of the PolyPearl Tower are as follows:-
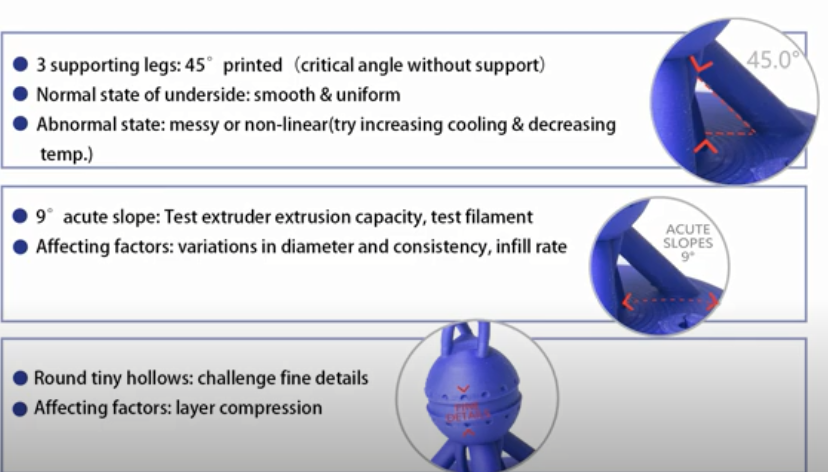
45° Overhangs
Usually, 45° is referred to as the critical angle that printers can handle without using support material on a given model. The three supporting legs of the PolyPearl Tower are all printed at 45°. Check the underside of these pillars after printing, they should be smooth and uniform, if you find the pillars are messy and non-linear, try increasing cooling and decreasing temperature.
Acute Slopes
Featuring an acute slope of 9° this feature will test your printers ability to extrude uniformly. This is also a good test of the filament, as variations in diameter and consistency will result in gaps or non-circular rings. Tweak your extrusion multiplier to perfect the acute slope, this feature can also be affected by your infill percentage. A low infill percentage will not provide the necessary support for the rings to form neatly. Still having trouble with acute slopes? Try increasing the number of top solid layers on your print.
Fine Details
Fine details are a challenge for any printer. The lower ball of the PolyPearl Tower features tiny circular indents around the center. Check the form and roundness of these holes, they should be round on both sides of the center band. You can compare the top indents against the bottom to see if the layer compression has affected their roundness. On all our test models we never found a perfect set.
The tiny pillars on the front of the pavilion are one of the most challenging aspects of this model. Being very thin, angled and able to support the bridge of the pavilion roof is surely a tough test for any 3D printer. This is a good place to test your retraction settings, aim for clean pillars with no strings in between. The bridge on top should be well formed and also curved. This aspect of the print is almost impossible to perfect so good luck trying!
Overhangs
On both of the ball sections of the PolyPearl tower, you will find a small overhang section. Inspect the form of these details and compare the top against the bottom. The bottom should be well formed, circular and flat. The top overhang is much trickier to perfect, check the sharpness compared to the bottom. This feature is affected by the number of shells/perimeters you choose and how you choose to print them. We suggest inside-out to get the best edge on the overhang. The underside of the balls themselves ranges from 90° to 0°, the top ball, in particular, has less support so keep an eye out for the roundness near the base of the top ball.
Extrusion
To achieve the perfect extrusion settings there should be no indication of where the layer has started and stopped. In this picture, we have used PolyWood to demonstrate a perfect extrusion. Play with your extrusion and retraction settings to achieve the perfect extrusion. Using a matte finish material like PolyWood helps blend the layers also!
Roundness
Check the roundness of the balls on the PolyPearl Tower model. These balls should be consistent and spherical. Play with your speed settings to optimize roundness, most PLA’s will print happily at 60mm/s.
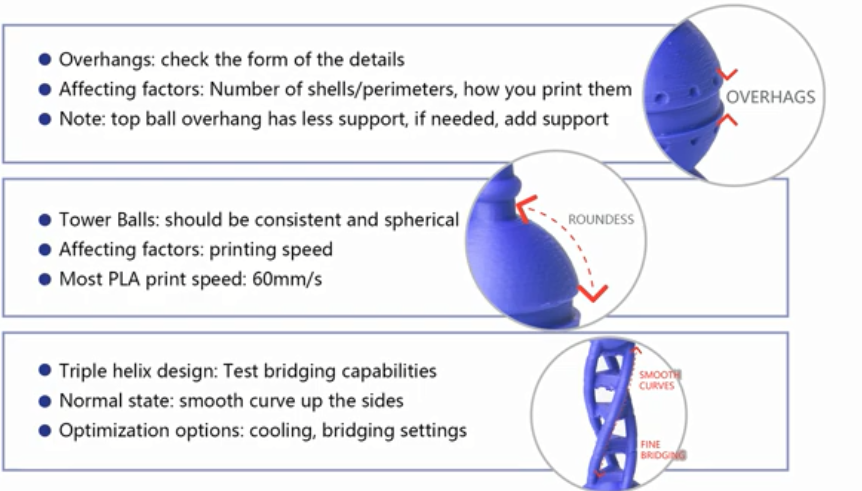
Fine Bridging and Smooth Curves
While the distance of this bridge is not that impressive, the triple helix design of the PolyPearl Tower will test your printers bridging capabilities on 4 different orientations in one print. We found this change in orientation resulted in some messy bridging on one or two of the sections. Play with your cooling and bridging settings to optimize the fine bridging. You should also notice a smooth curve up the sides of the triple helix. Key an eye out for layer shifts where the bridges meet the helix.
Top Layer Fill
The Top Layer Fill on the Polymaker Logo should be completely filled in. This is effected by the number of Top Solid Layers you choose and also by the amount of shells/perimeters you choose. Too many shells/perimeters and you will be left with a gap in the top surface.
Reference:https://polymaker.com/polypearl-tower-torture-test-model/
All in One 3D printer test
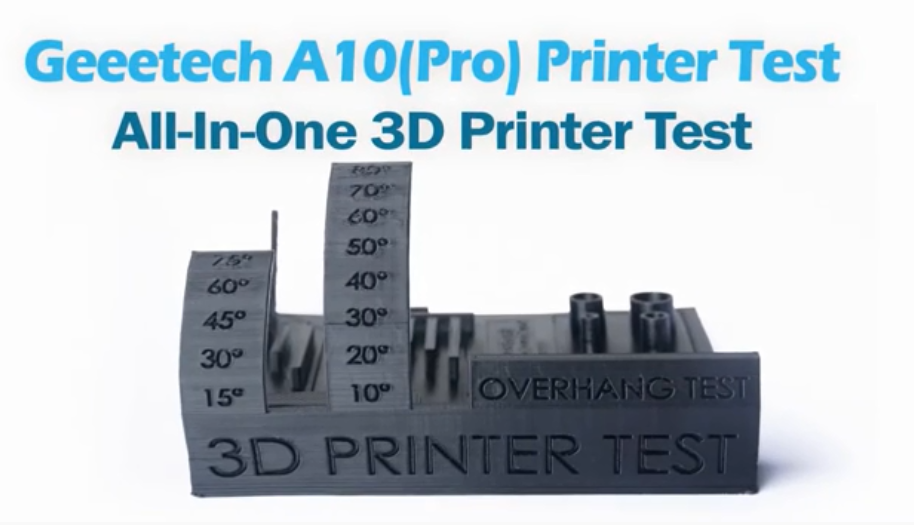
This test includes : support test, scale test, overhang test, hole test, diameter test and bridging test. It is printed with 100% Infill without supports.
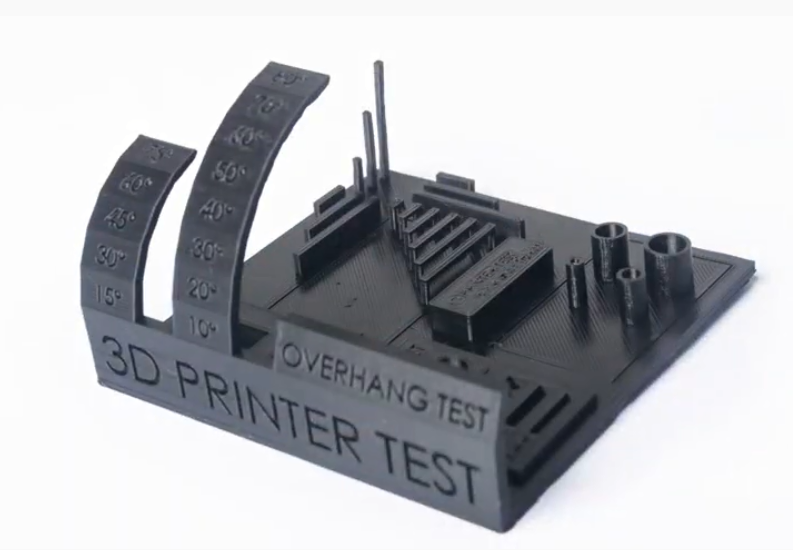
45 degree is said to be the critical angle for overhangs without any support,but here we have an 80 degree overhang with no support. The overhang and bridges are printed with no signs of sagging or drooping.
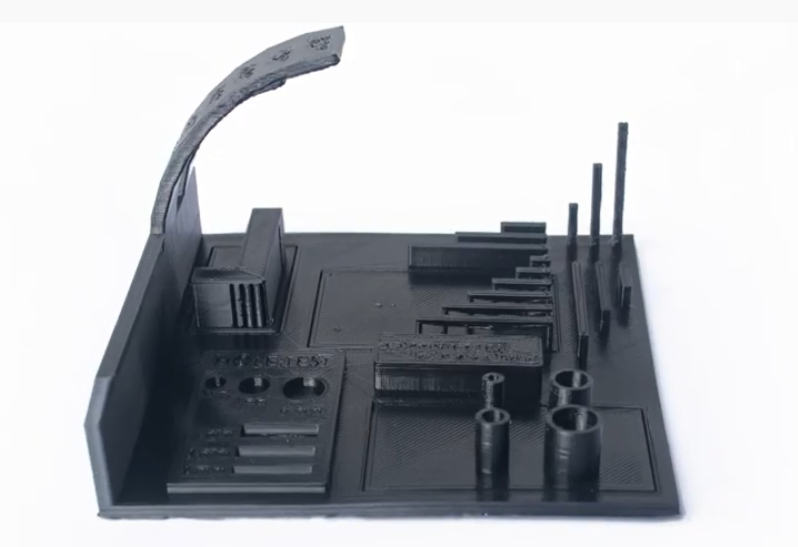
The clear and sharp corners show no signs of stringing or deviations.
If you also would like to perform the tests on your 3D printer, you can download the test 3D model on the internet or feel free to contact us for the files. Don’t forget to share with us the results on Geeetech forum or our Facebook User Group
By the way, the new A10 comes with an upgraded mother board /LCD/Frame,and is now available for $219, 8% off its original price! Check it out here :https://www.geeetech.com/geeetech-a10-3d-printer-new-upgraded-mother-board-lcd-frame-p-1117.html
This post is originally published on Geeetech official site.


没有评论:
发表评论