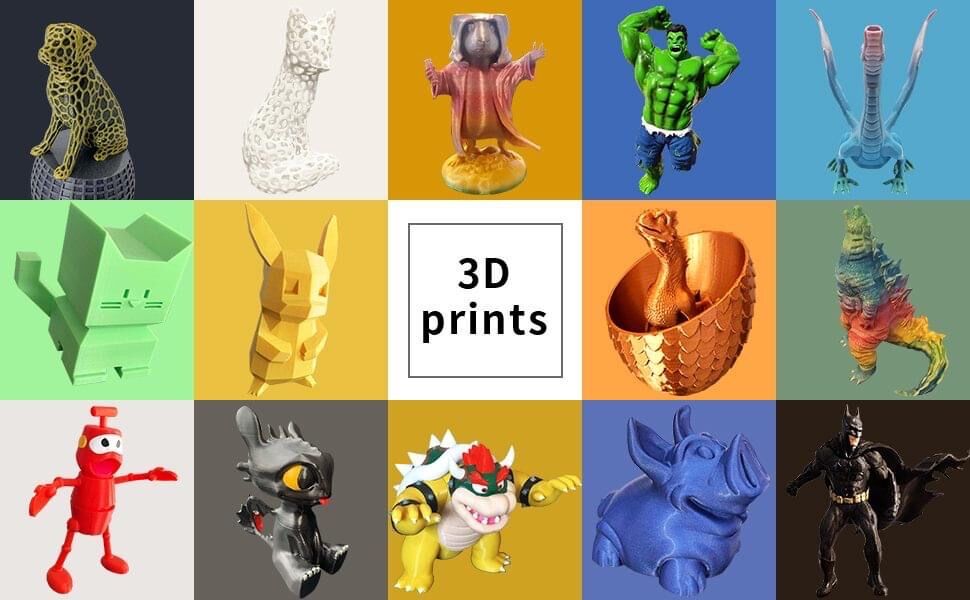
3D printing opens up a universe of possibilities in manufacturing. Even at home, you can create unlimited possibilities with a Geeetech FDM 3D printer.However, the final printed model often has a lot of annoying layers that make the whole work look rough.It is only through some post-processing techniques that a smooth appearance can be achieved.The 3D printer filaments comes in ABS and PLA.PLA is more commonly used , which can’t react with the chemical like ABS.You have to keep sanding to get a smooth surface.Obviously this is hard and time – consuming.
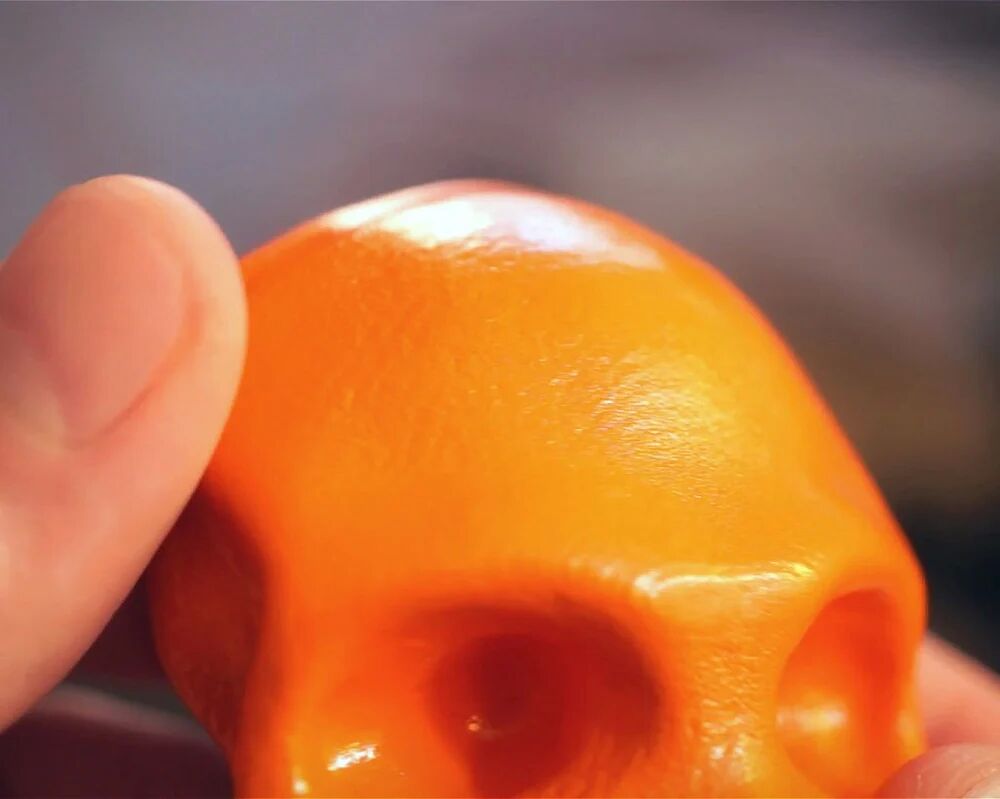
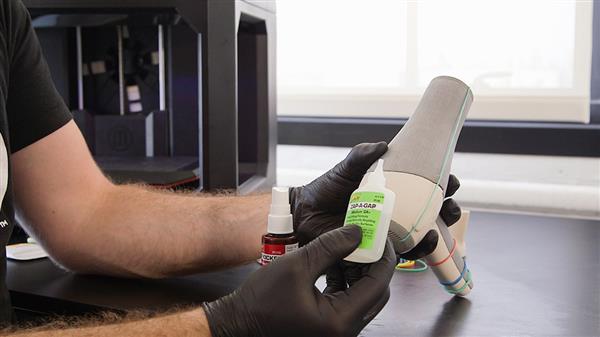
Fortunately, we can refer to 3DSage’s unique method of getting a beautiful look without using sandpaper.He printed a model of the skeleton as a demonstration. All you need is a can of spray paint that combines well with plastic (such as Rust-Oleum) and a bottle of Fast Drying Polyurethane – Clear Satin. Let’s get started!
3DSage shares the Skeleton model that he uses in his own example
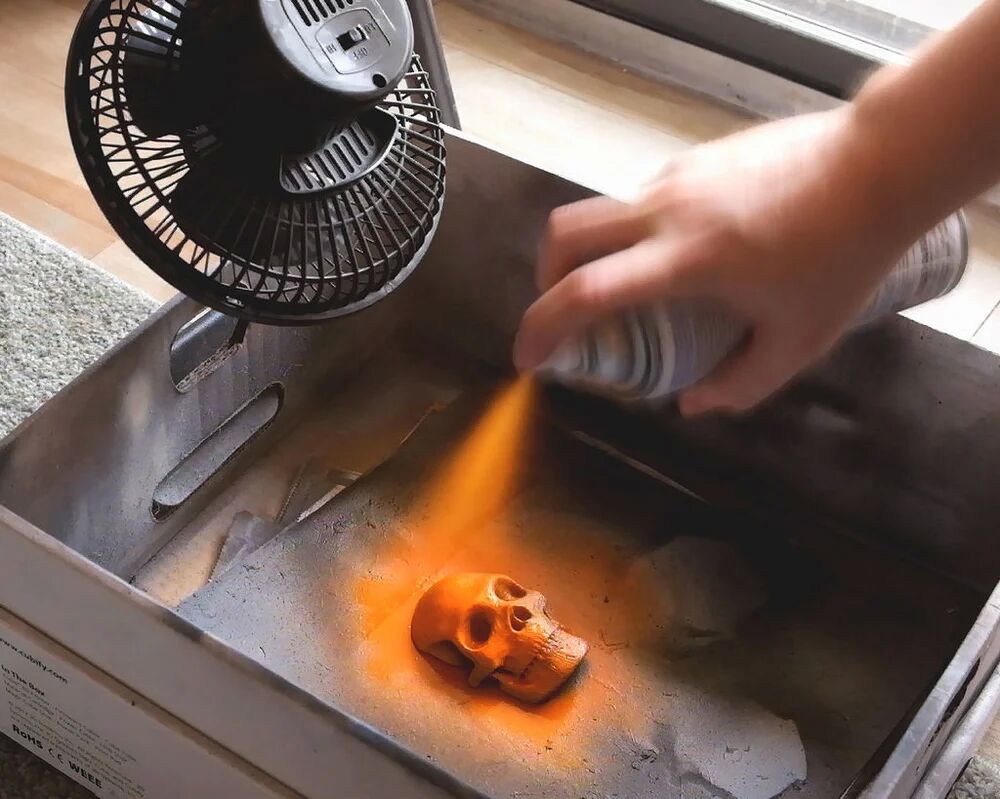
The first step is to check whether there is dirt or dust on the 3D printed model and make sure there is nothing superfluous on the surface.Apply a spray paint of your choice to the model, followed by a quick coat of polyurethane.
Next, to make the coating dry faster and prevent drips, you should carefully place the model under the fan.At this point you can see that the mixture of paint and polyurethane will blend into the layer, making up for any holes or unexpected imperfections and working best with thin layers and patience.3DSage said he waited for a whole day before adding the final coat of spray paint.And the time interval between layers is 20 minutes in order to prevent discoloration and make up for defects.
Put the coated 3D print under a fan to make it dry faster
When it comes to the benefits of his craft, The Maker says it allows him to print faster with a greater layer thickness.This process will mask any rough and unsightly appearance.And you can choose any color of paint.In this way,you get a smooth print model that doesn’t require polishing or other post-processing techniques.
without a doubt,you can’t bear some minor flaws in the face of a 3d printing model, let alone “String”.You complained that this printer is such a trash Contrary to expectations.At that time,You may get mad but it will eventually ending up in a mess.
So firstly you need to calm down.Take a close look at what the problem is,make it clear that how it happened and how we can solve the problem.Let’s dive in.
What’s the Problem?
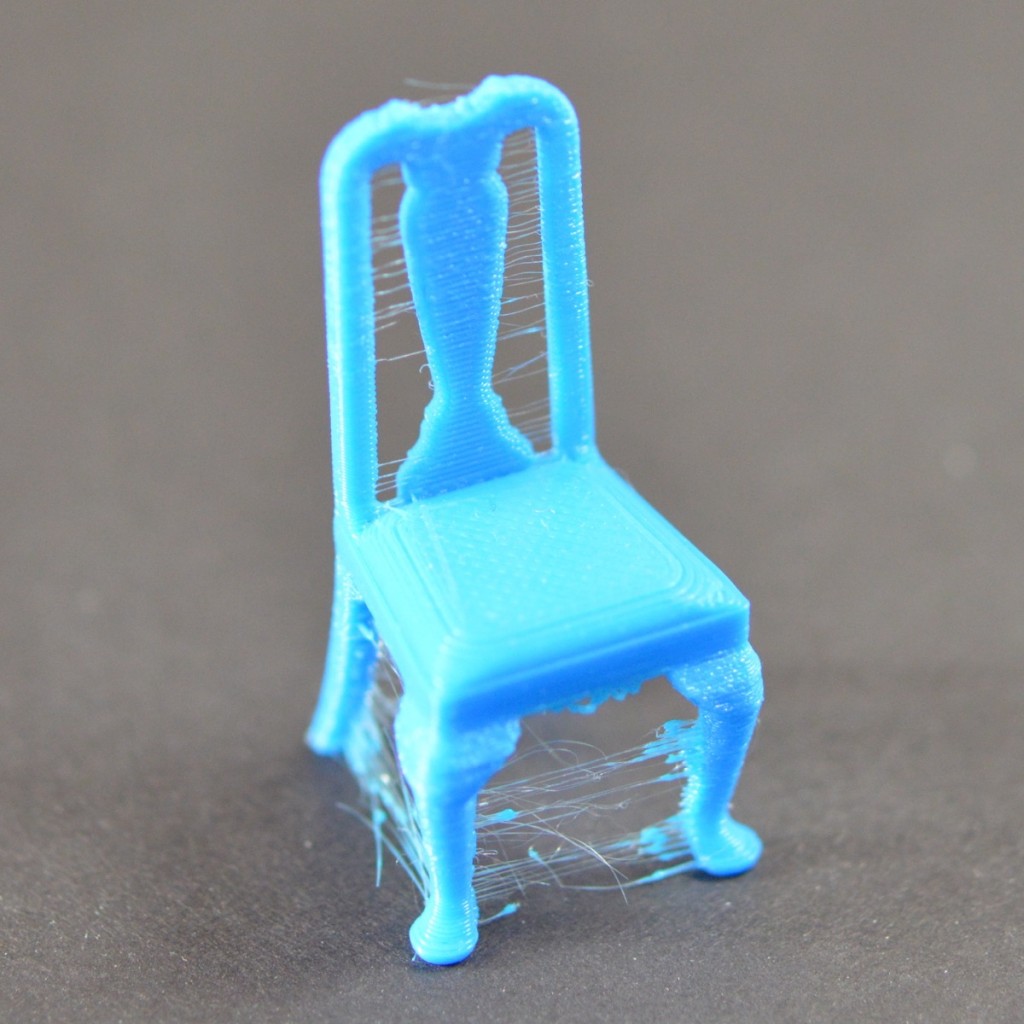
Stringing exists when small strings of plastic are left behind on a 3D printed model. This is usually due to plastic leaking out of the nozzle as the extruder moves to a new position.
Finished print affected by stringing
How to fix this?
In this article, we’re going to look at 5 Solutions that are common to all the major 3D printers.
1.Enable Retraction
Enabling retraction is the most ordinary way used to fight against 3D printer stringing. Enabling retraction means that means that when the extruder has to pass through a gap, the filament is retracted a little bit by the feeder.Once the extruder reaches the next position, the filament is pushed out and the print continues again from the nozzle.If the retraction setting is turned on and you’re still experiencing 3D printer stringing, you may then need to go into the details of the retraction settings:
Retraction distance
The most important retraction setting is the retraction distance. This determines how much plastic is pulled out of the nozzle. Generally speaking, the more plastic that is retracted from the nozzle, the less likely the nozzle is to seep out as it moves. Most direct-drive extruders only require a retraction distance of 0.5-2.0mm. If you run into stringing with your prints, try increasing the retraction distance by 1mm and test again to see if the performance improves.
Retraction speed
The next retraction setting that you should check is the retraction speed. This determines how fast the filament is retracted from the nozzle.If the retraction is too slow,the plastic will slowly leak out of the nozzle and may begin to leak before the extruder moves to its new position. If you retract too quickly, the filament may separate from the hot plastic inside the nozzle, or the rapid movement of the drive gear may even grind away pieces of your filament. There is usually an optimal point of retraction between 1200-6000 mm/min (20-100 mm/s) .
If standard retraction isn’t doing the trick, try reducing the minimum travel. This is usually the quickest solution to fix stringing issues. Drop the value by 0.5mm until the stringing has stopped completely.
2.Set the Right Temperature
The extruder temperature is the next most common cause for stringing.If the temperature is too high, the plastic inside the nozzle will become less sticky and more likely to leak out. Whereas, if the temperature is too low, the plastic will be kind of solid and difficulty in extruding from the nozzle. If you feel you have the right retraction settings, but you’re still having these problems, try decreasing your extruder temperature by 5-10 degrees. This will greatly improve the quality of your printing.
3.Movement Speed
Moreover,increasing the movement speed of your machine can also reduces the time it takes for the extruder to leak as it moves between parts. The X/Y Axis Movement Speed represents the side-to-side travel speed, and is frequently directly related to the amount of time your extruder spends moving over open air.As long as your machine can handle moving at higher speeds, increasing this settings may reduce stringing between parts.
4.Thoroughly Clean the Nozzle Before Printing
When you use a printer for a long time, the filament can leave a thin layer of residue in the nozzle. This thin layer can cause 3D printer stringing as filament strands will try to stick to the surface of your printed part.
To avoid this type of problem, ensure your nozzle is thoroughly cleaned before any printing to remove any dirt from the previous filaments.
5.Keep Your Filaments Moisture-Free
PLA, which absorbs more water than ABS, is the main culprit.The water turns to steam when the plastic is heated up, and it can mix with the plastic to increase the likelihood that it will seep out during non-printing movements.
Post-processing is to 3D printing what clothes are to humans. You get the gist, right? 3D prints,more often than not, require various degrees of post-production treatment to be “presentable”.
Whereas 3D printers using the same technology and marketed for about the same price usually do not vary much(theoretically) in terms of print quality, the results of post-processing can vary greatly depending on your expertise and skills. Simply put, you take either 100 percent blame or credit for your finished 3D prints.
So, what processes are involved in post-processing?
•Cleaning
In FDM, cleaning usually means to remove support structures from the object.
As we know, there are two types of support material: soluble and insoluble. Insoluble material is relatively strong and can only be removed with a spatula,knife or sheer brute force,leaving the model and print platform vulnerable from possible damage.
If you are lucky enough to own a dual extrusion setup, you may want to use soluble material for your supports. Soluble materials such as HIPS and PVA, can be dissolved in water or Limonene.
Check out our previous blog on how set up your 2 extruder 3D printer.
•Fixing
One way to circumvent supports is to have your model printed separately. This means you will have to manually attach together your parts. ABS prints can be welded or glued together using acetone. Here is a tip you should heed: when creating joints or keys for a model, make sure to create joining features large enough for the 3D printer to create them cleanly. Thumb of rule is that features should be larger than 4-5mm in diameter. Glued components should be secured together using rubber bands, and cyanoacrylate glue should be used to spot glue around the connecting areas. If seams are rough or have gaps, bondo or filler can be used to smoothen them.
•Surface finishing
Sanding
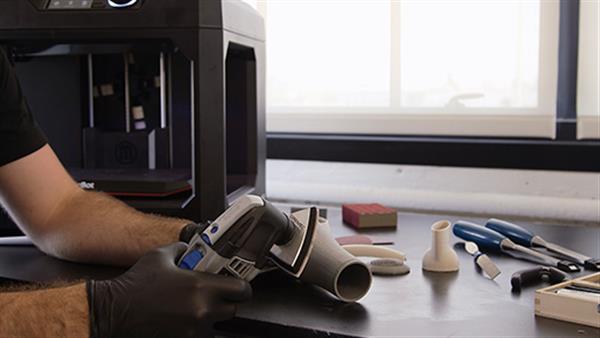
Layer lines are the bane of models printed using FDM technology. Carefully sanding the surface of the model with paper should get rid of the lines. This process requires delicate skills and great attention. Start with higher grit to lower as you go. Do not sand in one place for too long as friction-generated heat could melt the material. The downside to manual sanding is inconsistent results, as well as being laborious.
Smoothing
To give the print a glossy finish, chemicals are sometimes used. For example, Acetone and THF are used to smoothen the surfaces of objects printed with PLA and ABS. The problem with this technique is that it can not be controlled: sometimes features are melted off that should remain. On top of that, vapours can be harmful when inhaled.This can be avoided using closed chemical cleaning machines.
•Coloring
Coating and Painting
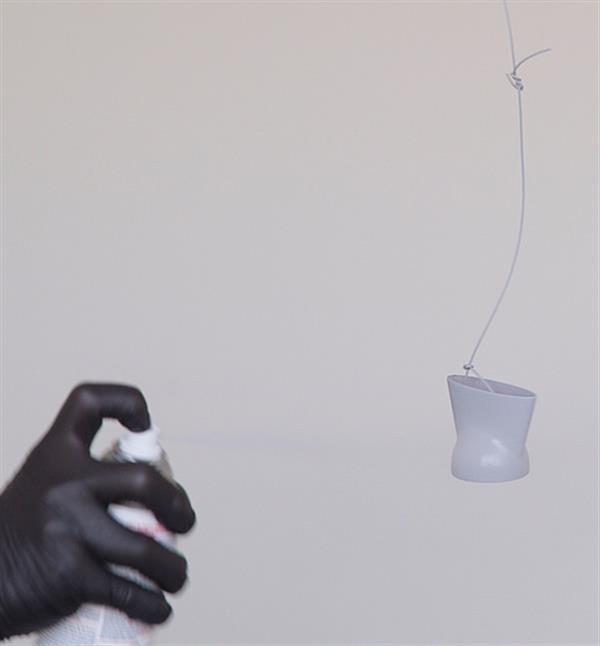
Surface finishing is often followed by painting. Parts need colouring would ideally be printed using white material. A layer of primer is usually applied before the model is painted,followed by another stage of sanding. Painting is usually done manually using a brush or spray(at an arms length). It is highly recommended that you hang the object in an open, dust-free,well ventilated space. This will allow you to paint all surfaces evenly without having to handle the model while paint is drying. The painted object should be ready to polish after 1-2 days.
Nowadays, desktop 3D printers that come with 2 extruders are more powerful and affordable. Still, many, especially beginners are intimidated by those dual extrusion systems. In light of this, i am presenting to you this step-by-step guide to dual extruder 3D printers in the hopes that you will be able to operate one yourself in the end.
Before reading this article,please make sure you have already read the set up guide of the version of 13B single extruder and you are able use it to print 3D models. If not, please learn how to operate the single extruder. Of course, you can take this one as the single extruder version to get started.
Step 1
Open Repetier Host,click Config/Printer Settings to set up the connection.
1. Name your printer.
2. Select the corresponding COM port and baud rate. Baud rate is generally 115200 or250000.
3. If you are not sure about the COM port, you can check it in your device menager.
Step 2
Set up your extruder
1.Choose the number of extruder, here we choose 2.
2.Select the diameter and color of filament
3.Offset X/Y refers to the distance between the two extruders,which can be adjusted based on real situations. You can leave it alone now.
Step 3
Set up the shape of printer
Choose Classic printer as the printer type.
Home X: min Home Y: min Home Z: min
Print height: 150
Now,you can click the Connection button on the left corner to check whether it can connect with your printer. If it fails, please recheck the COM port and Baud rate.
Step 4
Manual control
1. X home
Click X home to home the X axis, or you can click the right/left arrow to move the axis to check whether the direction and distance is correct or not;
2. Check Y axis and Z axis respectively in the same way
3. Click the icon of heated bed on RH to heat up the bed. observe whether the temperature is rising to a pre-set value
4. Click the icon of heated bed and extruder, observe whether it is heating up to the pre-set temperature and keeps at that value
5. When the temperature for the extruder surpasses 170 °C , choose extruder1 and extruder2 respectively, you can move them and check their directions
Step 5
Leveling the two extruders.
Leveling the two extruder is very important if you want to print with two extruders at the same time.
First, you can adjust one extruder to make it parallel with the surface of the heated bed (the same way you level for a single extruder setup) , click the button of Z home to adjust the distance between the nozzle and the heated bed, make sure the vertical distances of the nozzle to the four corners of the bed are the same.
After that, tweak the distance between the second extruder and the heated bed by adjusting the screws, as shown in the following picture: Loose the screws, and then you can move on to get the right distance between two extruders and heated bed.
you may need to repeat this step to get it all right.
But it’s worth it. Once you get it done correctly, you wouldn’t need to do it again.
The settings mentioned above are on Repetier Host,which only involves the control of 3D printer and the preview of model.
All the settings do not concern the print result but slicing. So we will continue with the slicing setting. The slicer is independent of Repetier Host. So,should we set up the slicer now? Take it easy. Let’s see whether our printer can run normally.
Step 6
If the printer goes well. We can go on with the slicing. First let’s get a quick view of the slicer.
RepetierHost supports many slicers, with Slic3r and CuraEngine being the most popular; Slic3r is more powerful in terms of functionality, but CuraEngine comes with more optimized slice velocity.
You can choose slicer here. Upon selecting the slicer, please click Configuration.RepetierHost will bring up a wizard of the corresponding slicer that will walk you through the configuration.
Here we take Slic3r as a demonstration. As to the configuration in CuraEngine,we will pick it up in the follow-up study in our forum www.geeetech.com/forum/, so, please stay tuned. If you are experienced in CuraEngine, we would appreciate it if you cou.ld share your insights with us.
Next, download the file:two_color_cube.zip, unzip the file and save it somewhere.You will need it later.
Step 7
Click Configuration,open Slic3r
Step 8
We have prepared a set of parameters for I3B_2E dual extruder, that is, I3B_2E_config_bundle.ini. You will need import those parameters to slic3r from here.
In Slic3r, under file> Load Config Bundle.. navigate to the folder we just downloaded and unziped, open I3B_2E_config_bundle.ini,
Step 9
After loading, you can find the option of Geeetech_I3B_2E in the drop-down menu.
In my case, i use the geeetech pro C model,(i refer the I3B_2E in this article),extruder is MK8(1.75cm-0.4mm),PLA filament, so we choose Geee_I3B_2E, PLA 1.75mm, and Geeetech_I3B_2E respectively .
All the parameters you set can be saved in RepetierHost for future reference.
Step 10
Unzip two_color_cube.zip,click Load to import the .stl files,choose two_color_cube_1.stl and two_color_cube_2.stl respectively.
Actually, two_color_cube is composed of two .stl files. each printed by one nozzle.
After loading, you can preview it. The two files are separated.Now you need to adjust the locations to combine them together.
Select Object Group 2 and click center, then Object Group 1 and center. Now the two models are combined as one.
Assign printing task for both extruders respectively.
Step 11: Slice
If this warning pops up, choose NO
G-code is generated successfully
Step 12: you can print directly via serial port (USB connector)or save the G-code to SD card, and print stand-alone.
Step 13′: The end
This post is originally published on the Geeetech wiki page and is edited in this blog.
Please be noted this article was last modified on 11 August 2015, and hence is subject to changes, due to software and hardware updates over the years.
If you already have a dual extrusion system, we would like to hear from you. Share you story/experience with us by joinning our forum or Facebook user club. You are also welcome to write on our blog to reach a larger audience.